DIY Woocommerce E-shop Setup Manual
Choose a Step you need Help with

Caution
If your browser shows a non-secure connection when you log in, bypass it by clicking on the advanced settings button on the bottom left, and then, going to the website (non-secure connection).
1) Program selection
Go to our E-shop link page → Buy Woocommerce E-shop subscription to choose your subscription.
You can see the features and duration of each package and based on your needs choose the one that covers you.


2) Domain selection
You will be asked to register or transfer your website domain. If you don't have a domain, type the one you want in the first field and press the check button. Then press the continue button. If you already have a domain and want to transfer it, select the third option and enter the name and press the use button.
In a new domain, write your name carefully because in case of completion of your order there is no reversal.
3) Select billing cycle
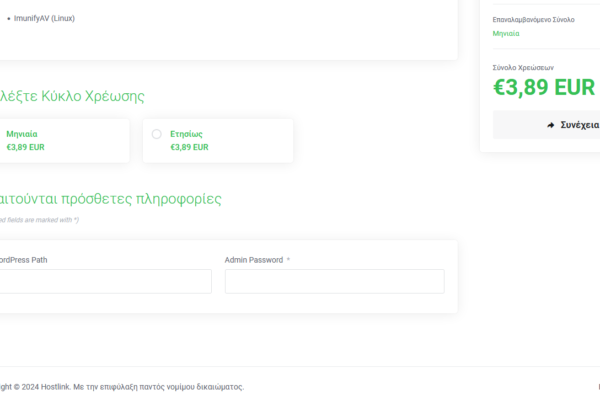
In the Select billing cycle field, select the billing method, monthly, semi-annual, or annual. Leave the rest of the fields as they are and press continue.
In the Select billing cycle field, select the billing method, monthly, quarterly, semi-annually, or annually. Leave the rest of the fields as they are and press continue.


4) Invoice details
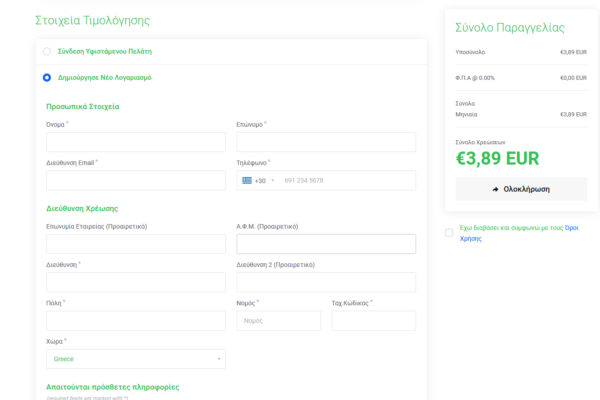
Here you simply fill in the details of your card from which the invoices for your accounts will be issued.
In account security, fill in the code with which you will access your account. To log in to your account later, you will need this code as well as the email you will use to register. Finally press complete order.
5) Payment
The process is completed with the last step which is the completion of the payment on your part, through My Pos with any debit or credit card you have.


6) Email Check
The installation process starts.
You will receive the payment receipt as well as your login information to the email you provided. Click on the URL you see in the email and use your password and username to log in to the management system to start building your website.

7) ENTER THE CONTROL PANEL
Now you are ready to login to your store admin and start configuring it.
Fill in the username - 'Nickname' and the 'Password' that you filled in earlier and press 'Login'.
8) CONTROL PANEL
Welcome to your online store management control panel.
From here you will manage everything related to your store.


9) CHOOSING THE SUBJECT OF YOUR CHOICE
Activate the theme you want.
Go to the menu on the left to 'Appearance' and in the sub-menu select 'Themes'. Select the theme you want and press 'Activate'. You will then be asked to enter an Api code which we will activate for you following your request below.
10) Theme Activation Steps
Full theme activation with API key
The theme you selected needs the 'API license' to be fully activated in order to have your theme upgrades for free and for this you will need to send a request by filling in the field the e-mail with which you made your subscription payment and the theme you wish to configure and it will be activated in the next 10 minutes without delay.

Woocommerce E-shop activation form

